Thursday, January 28, 2021
MORE FABULOUS "FAKE BAKES'!
Monday, November 23, 2020
FAKE BAKES
Sunday, November 1, 2020
My current published Children's Books
Hi all!
Here are my current published Children's Books. They are available through Amazon.com and BarnesandNoble.com. I am ready to publish my 3rd book but the pandemic has put a big STOP on my plans. Hopefully it will be out by early 2021. Thank you for visiting my blog!
Light, happiness and peace to you.
Friday, October 23, 2020
PAINTING ON AN OLD SUITCASE
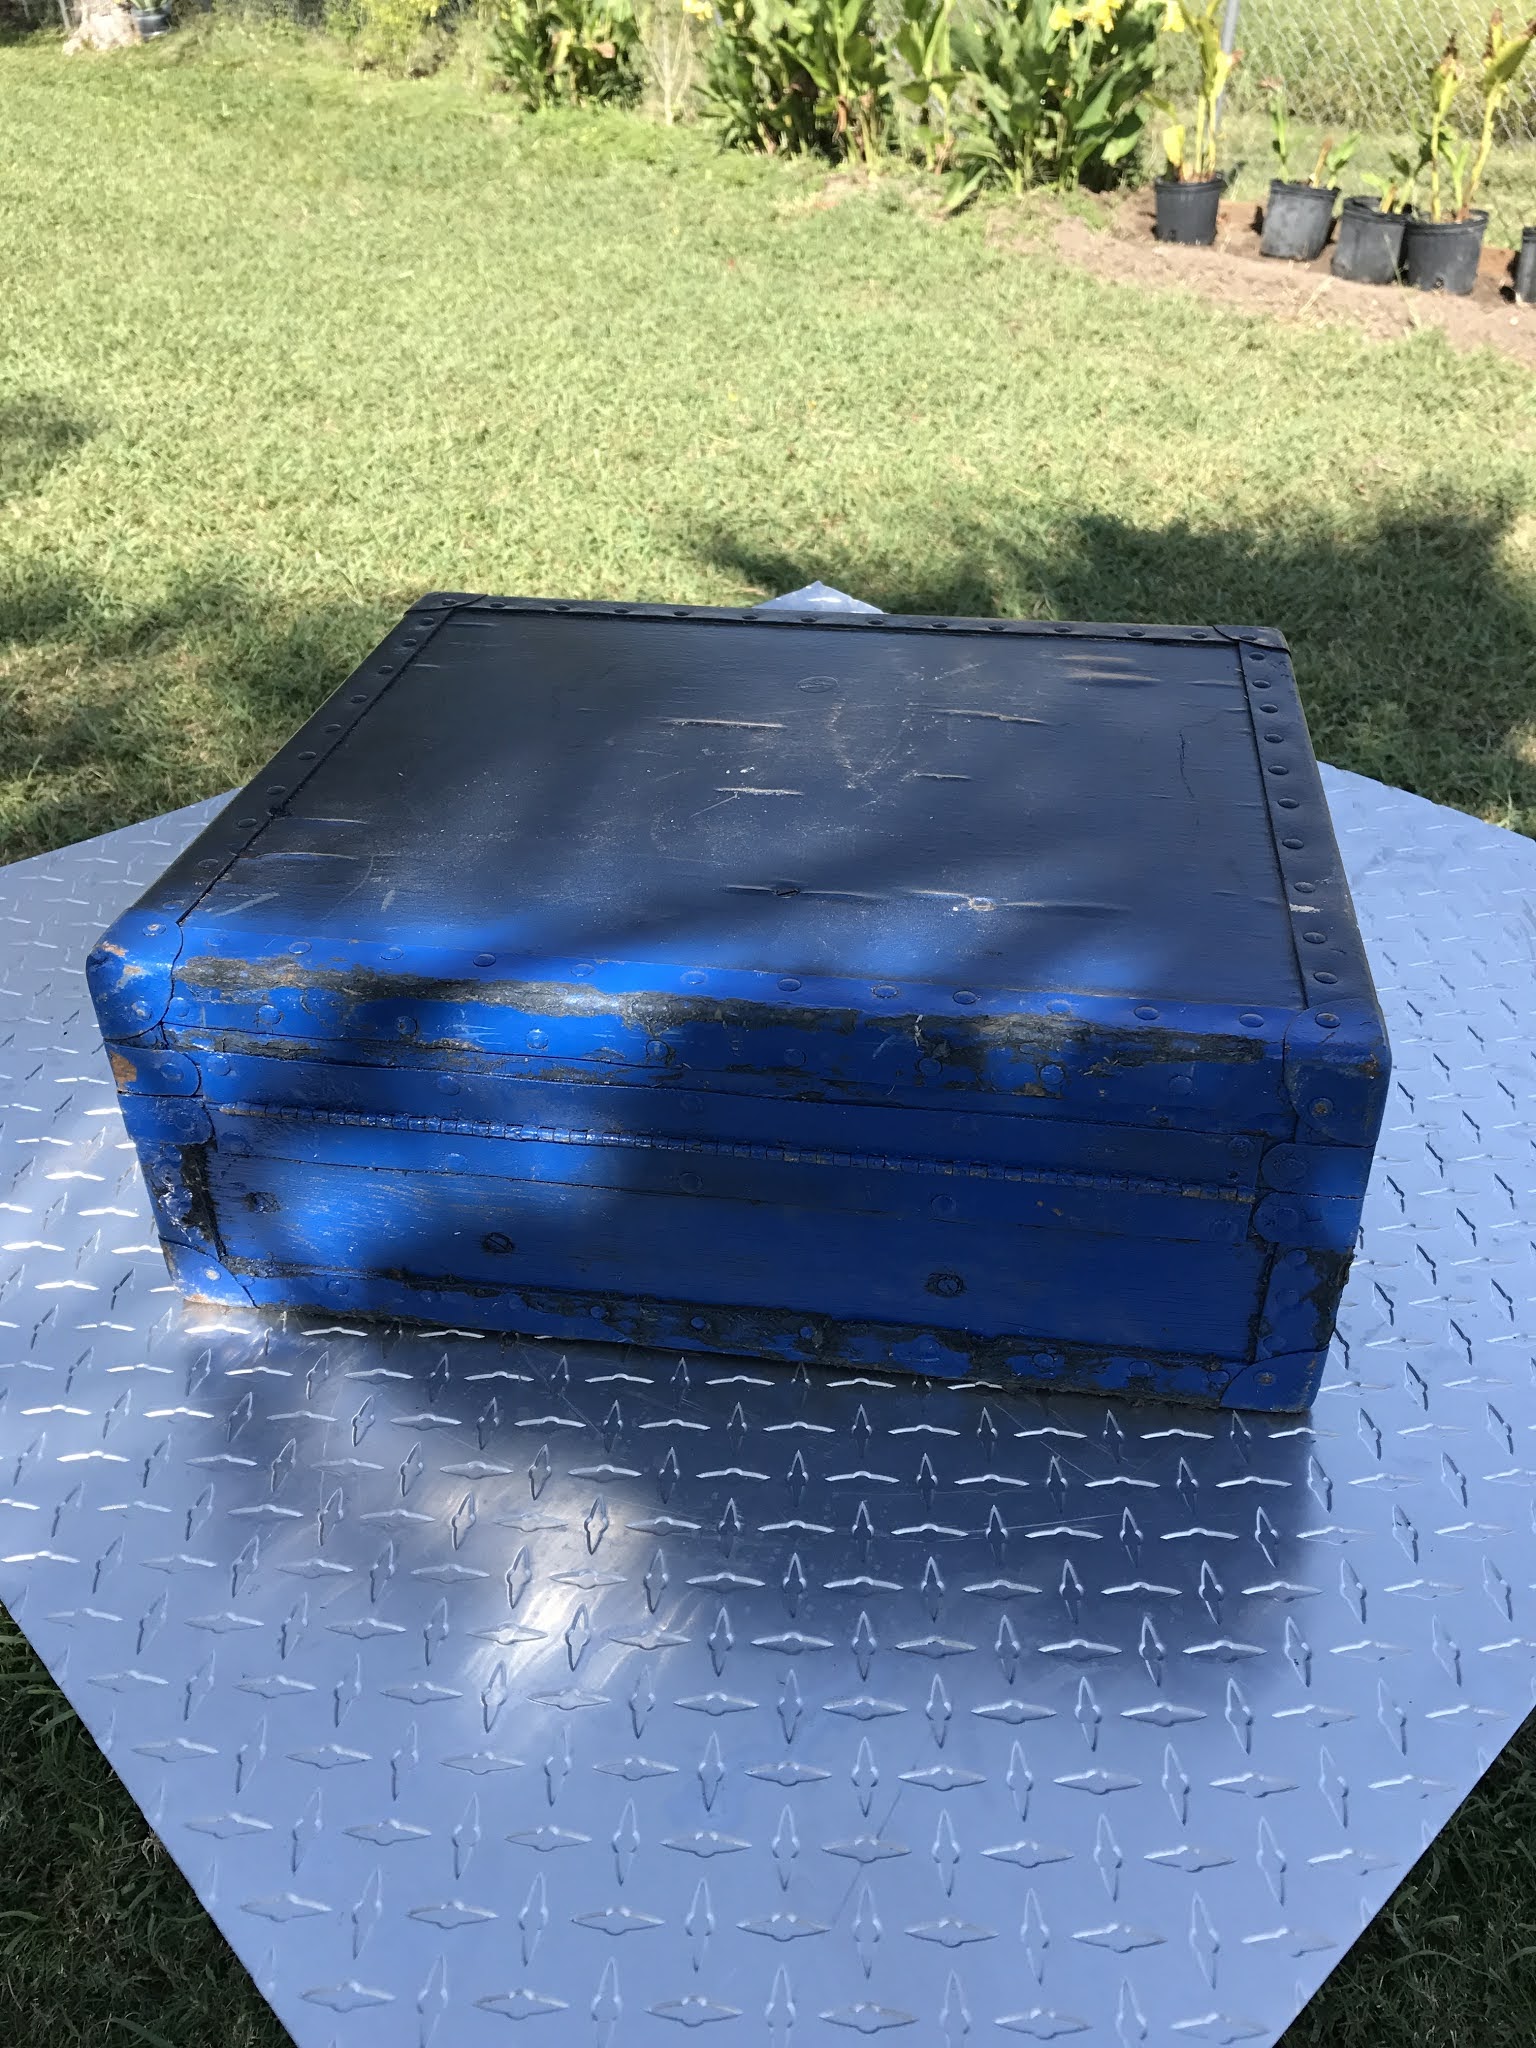
Here is another make-over I have been working on for a few days...It is an old suitcase that our niece asked me to paint on for her (a long time ago). It got some water damage a while back so I had to paint on a very rough, bubbled up surface and it has screws in it here and there. I did a little sanding, priming and then painted black. Using acrylics, I painted a night sky background and a silhouette of a horse and a cowgirl. I duplicated the clip art of the horse and cowgirl that I saw on Pinterest (with a few changes). Our niece loved it very much!! I'm so happy!
Tuesday, October 20, 2020
OLD MILK CAN....TRASH TO TREASURE
First it had to be dusted and cleaned thoroughly before sanding. It was free of spiders but had plenty of spiderwebs. No spiders were hurt in this process. Lol! I used a wire brush, sand paper and an electric sander then wiped it down really well with a dry cloth. Then I sprayed it all over with a Rust Inhibitor that I bought at Lowes. Let it dry completely. I used White Paint/Primer spray paint and gave it a good coating. I let that dry overnight. Then came the fun part!! I used black acrylic paint for the design. I hand painted the letter and used a stencil for the rest of it. My friend was very, very happy with the results!! And I was so happy to do it for her! I'm looking around for another one to "fix up" now!!
Tuesday, September 15, 2020
PAINTING DESIGNS ON LANDSCAPING ROCKS
Hi again!
Well, here we are, September 2020. Still trudging through the pandemic. Making the best of things. Hope you all are well. I have been trying to get back into my crafting....I see, on Facebook, that a lot of you are painting on rocks so I decided to follow suit. Here are the first two rocks I painted this past weekend. The first, I think, of many more to come. 😉
The kitty was really a lot of fun to design and paint. The Blessings rock was so easy. I will be sealing the Blessings rock, to place among my flower bushes, in my small garden. Hopefully the rain and heat won't affect it too much after I seal it. Hope you all are staying busy with crafting too! 😊
Tuesday, June 30, 2020
HOT, HOT SAUCE!
My hubby and I create a very small garden with some hot peppers and tomatoes yearly. So, we decided to make some salsa again and pour it into small jars and give them to our friends and family. We are going to wait a few months before giving them out this year. Here is a pic. I usually make labels for the jars. That's my late Mother-In-Law's nick name on the label. We honor her memory this way, she LOVED hot peppers and really hot homemade salsa.
She made the BEST salsa!! Hot, hot salsa!!
Take care everybody. God Bless.
Thursday, June 18, 2020
Sunday, February 16, 2020
BABY SHOWER BELLY CORSAGE
Pumpkin Bear
Wednesday, October 2, 2019
HALLOWEEN APOTHECARY DECOR
![]() |
| Good Witch table (fake) Apothecary |
![]() |
| Bubblegum Machine full of plastic eyeballs and a huge rubber Tarantula |
These are just for fun and are not real at all! No magic here!
I also filled up my old bubblegum machine with plastic eyeballs and a huge rubber tarantula!
I used my PC to make the scary labels for the bottles.
It's so fun to decorate for Halloween!
Wednesday, September 18, 2019
FALL WREATH
Happy Fall Y'all!! I made this wreath last Fall, I want to put it up again but I have been looking for it in my storage room, craft room, all the closets, just about everywhere in the house and I can not find it!! I guess I'm going to have to make another Fall wreath for this year. I really don't know what could have happened to it. Hubby says he hasn't seen it either. Oh well, gotta keep an eye out for Hobby Lobby Fall floral sales!
CHEERLEADER OUFIT FOR A TWO YEAR OLD
the t-shirt and tutu at Michael's and I used Tulip Glitter Dimensional Fabric Paints to embellish them.
She hasn't seen them yet but I just know she is going to LOVE them!!!
I'm also making a big Cheerleader bow for her hair and some pink pompoms to attach to her tennis shoes! She will look sooooooo cute!!
Thursday, July 11, 2019
MY NEW CHILDREN'S BOOK...
Keep an eye on this space for updates on my new book!!
Thursday, August 9, 2018
FAIRY ON CANVAS
I made several but I liked this one the most. I gave it to a good friend of mine for her birthday. She loved it. :)
Mixed media, I made the fairy from wire and fibers and a wooden ball for the head. I used specialty yarn for the hair. I LOVE FAIRIES!!
ANNOUNCING....my latest published book
ALANNA AND THE FOREST FAIRIES
I'm so excited to share the news!!! It is online at Amazon and Barnes and Noble!!!
Synopsis....
Thursday, April 5, 2018
ARTSY WINE BOTTLE ART on canvas
![]() |
| ARTSY WINE BOTTLE ART 16" x 20" Canvas |
Once everything is dry, brush Mod Podge all over the canvas to seal it all down.
Then Voilà ! it's finished!
Thursday, March 22, 2018
Very cost effective, as opposed to buying an expensive ready made wreath!!
I used a grapevine wreath, 2 bunches orange Tiger Lilies, small yellow filler flowers, a hot glue gun with glue sticks and a hard cardboard Easter wall plaque. I placed everything where I wanted them and then hot glued them all down. I can't hardly wait to start on my Summer Time Wreath!!
Monday, March 5, 2018
DIAPER CAKE FOR BABY SHOWER
Here is a Diaper Cake that I made for a friend of mine a little while back. I hadn't realized that I hadn't added it to my blog, so here it is. I used newborn diapers and formed them into 3 different sized rounds, holding them in place with large rubber bands. Then I placed them one on top of the other, forming a 3 tier cake. I inserted a dowel rod down the middle through each tier all the way down (from the top down) to make sure they don't slide off each other. I then wrapped large burlap ribbon around each tier, same with matching twine, added some burlap ribbon bows I made. I stamped a cute owl on brown card stock, glued a burlap circle behind it then glued that to a larger round card stock and glued to the front top tier. Since it was going to be a girl, I used pink crinkle on top of each tier. The young couple loved it!!
Saturday, March 3, 2018
WALL DECOR
I bought the bicycle at Pier 1 Imports and the door and picture frame (with attached shelf) at Dollar General. The picture frame is for photos but I inserted an inspirational quote instead.
I think I will switch out the wreath on the door with seasonal themes.
I am so happy with how it all turned out. Total cost $11.00
Wednesday, January 31, 2018
Teal and white Christmas wreath 2017
The wooden plaque is from Dollar Tree .
Saturday, November 4, 2017
TURKELFEN
This is what happened on my crafting table this morning!
The turkey head is off a headband with two turkey heads on it and the elf legs are a Christmas ornament I got at the Dollar Tree. I have Thanksgiving stuff and Christmas stuff on my crafting table and these two were on top of each other and that's when I saw it, so I glued it together and the Turkelfen was born!! LOL!!
Wednesday, October 25, 2017
SOCK SNOWMAN
I got lots of information and tips. These are the supplies I went out and bought.....
White socks, men's large
Christmas Women's socks* for cap and scarf
Raw White rice for filling
Embroidery floss 1 skiem
Assorted Christmas embellishments, small, such as snowflakes, buttons etc.
Pink blush and small brush for applying blush, to give him or her rosy pink cheeks
Small black beads for eyes
Small Jingle bells
Red pompoms or any color you choose
Hot glue gun and glue sticks
(You can also use Fleece, Felt or Flannel to make the cap and scarf)*
Lay the sock flat and cut across just below heel.
You will be using the top part of the cut sock.
Turn it inside out. Gather it at the top and take a length of floss and tie it up tight. Make sure to tie it up really secure.
Turn it back right side out with the gathered end inside the sock.
(The snowman behind the rice jar is being snoopy, he wants to see what's going on)
Take a length of floss, gather the top and tie it securely. Trim floss.
Using your hands, form an indention for the neck area then use the floss to tie it while forming the neck. Tie it securely. Trim floss. The snowman form should be nice and firm. Do not make the neck too thin because it will flop over. Nobody wants a floppy headed snowman! Lol!
Use a Christmasy sock to make the knit cap, cut off a long enough piece of sock lengthwise for the scarf, tie it around the neck. Cut off part of the sock for the cap,( it will look like a tube) gather up one end making that the top of the cap and tie it with the floss, and fold up the other end to make the band of the cap. Glue a pompom onto the gathered top and add jingle bells .... or not. It's your choice. Once you have the cap positioned the way you want it on the head, glue the cap to secure it.
*You can also use Fleece, Felt or Flannel for the cap and scarf, but you might have to sew a little. I don't like to sew, I can't even sew a straight line nor do I want to! Ha!!
So, there you have it. Pretty easy right? And lots of fun!! Use black beads for the eyes, you may also add a nose and a mouth if you'd like to.
Now you can make more snowmen and decorate them with bells, buttons or bows to your hearts content!
Thank you for your interest! Have a blessed Christmas Season!
Sylvia
Tuesday, October 24, 2017
CHRISTMAS LOLLIPOPS
All you need is.....
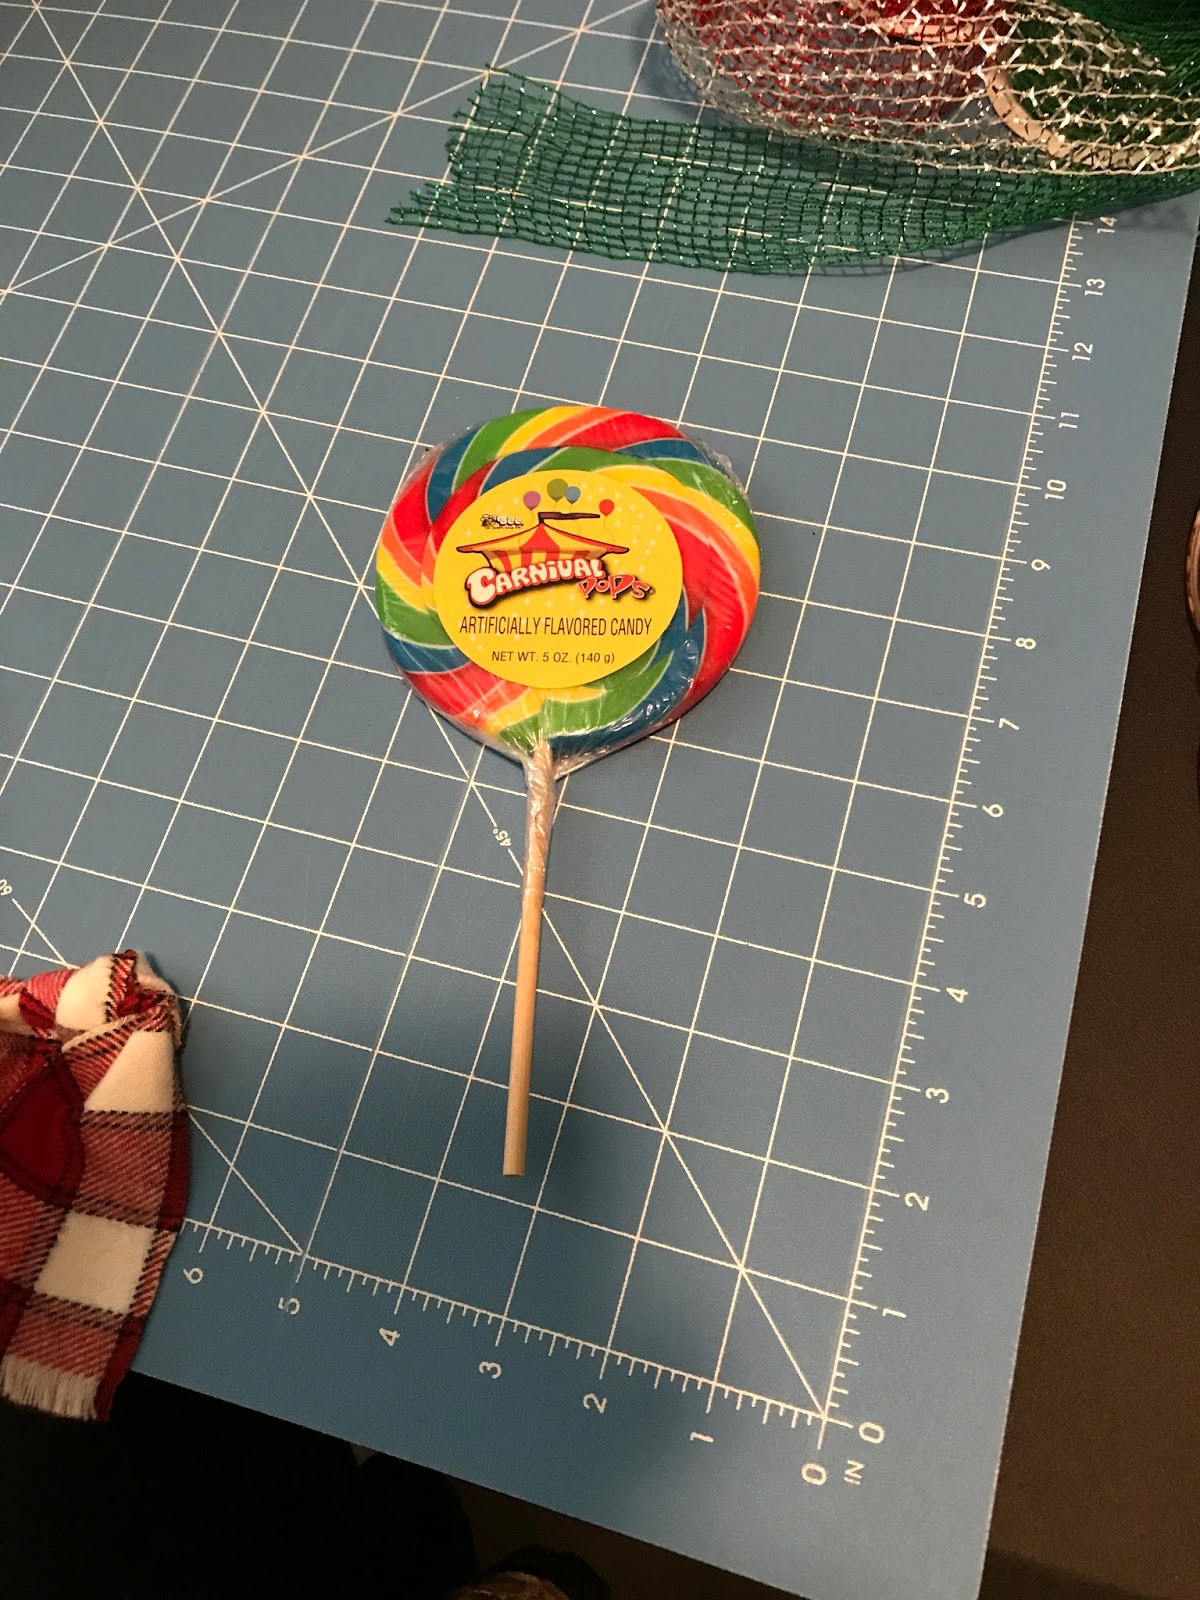
Large Lollipop 4" x 4" (I find these at Dollar Tree)
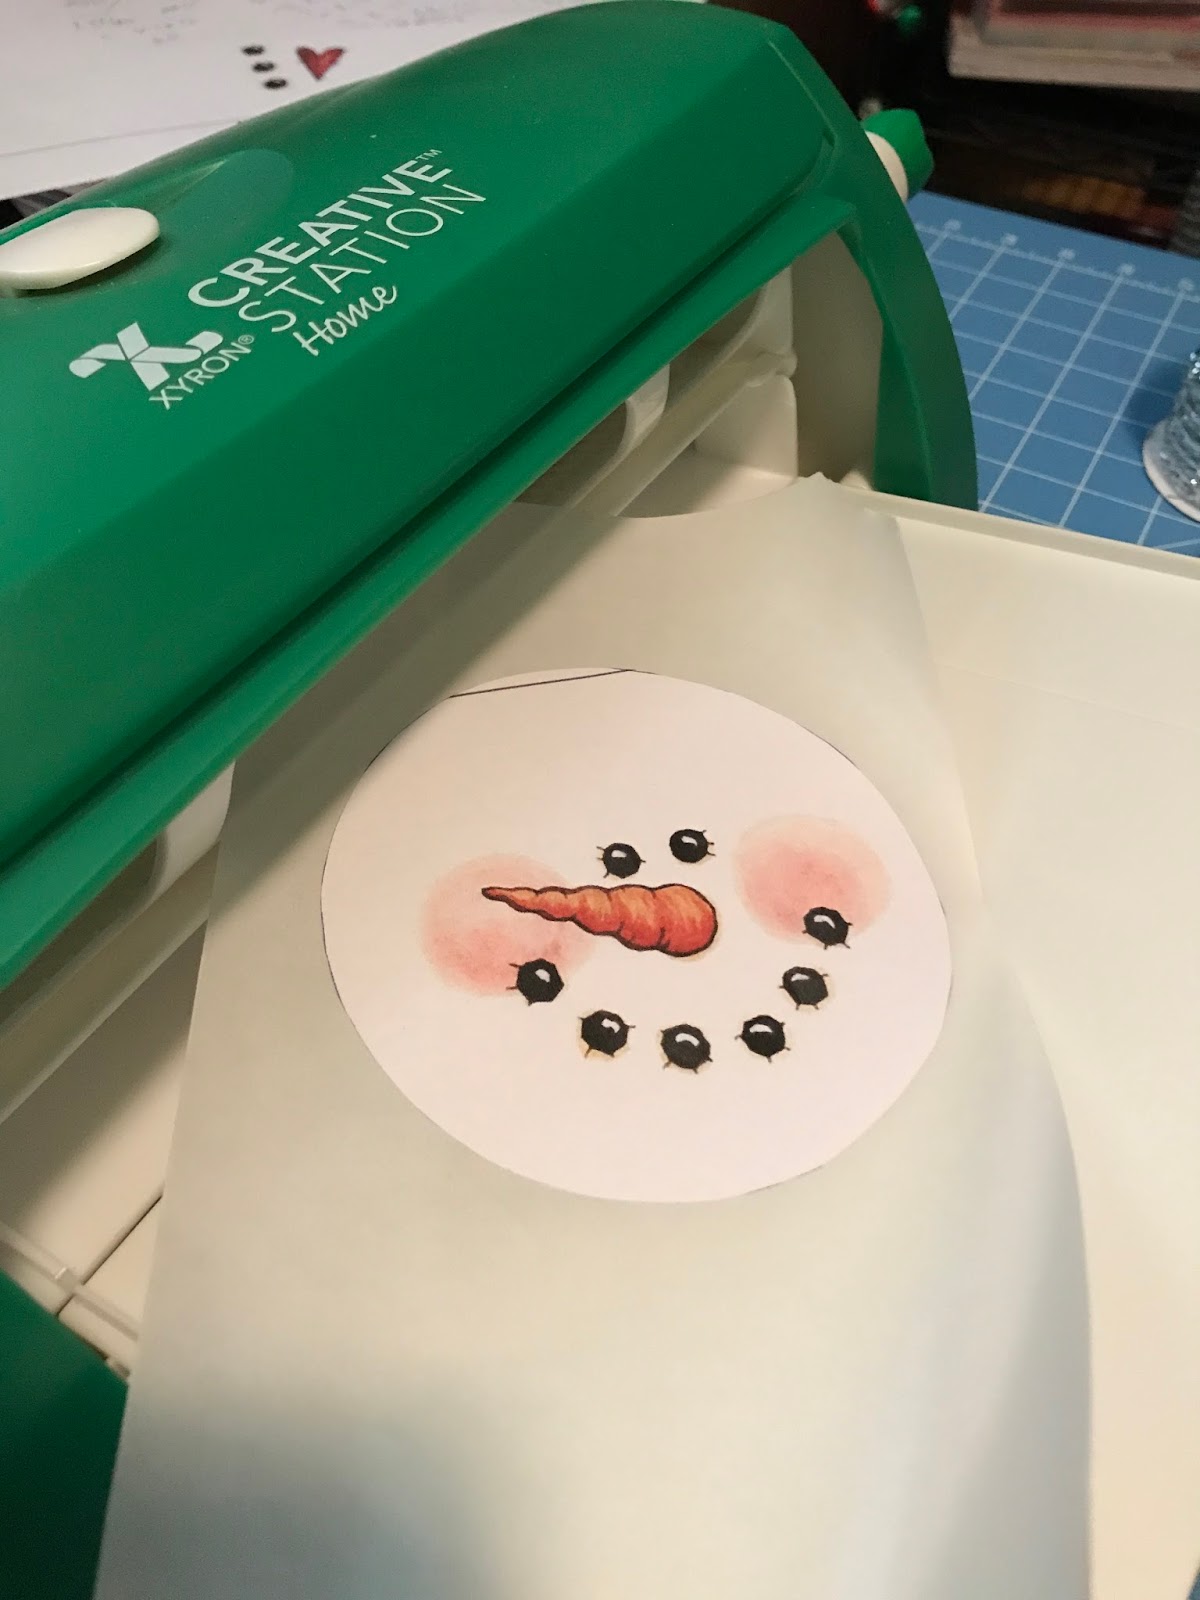
Snowman face (you can draw it or get free clip art from the internet)
White copy paper
Adhesive to attach snowman paper face to lollipop
Fleece, Flannel or Felt for cap and scarf
Jingle bells
Christmas ribbon
Christmas embellishments
Embroidery floss small amount (color to match cap/scarf)
Hot glue/glue gun
The large lollipops are a dollar each at the Dollar Tree. Do not remove the plastic wrapper from the lollipop. Do not remove the front or back label, as the front one will be totally covered with the snowman face. The ingredient label on the back, should remain intact.
Search the internet for Free Snowman candy wrapper templates, save to your computer, size them and print them. Or you can just paint the face yourself. Cut it out and make sure its just a little bit smaller than the lollipop. Use double sided adhesive tape or run it through a sticker maker, then adhere to the front side of the lollipop, leaving the ingredient list intact on the backside.
Hat......
I used a piece of plaid flannel cut to 10 inches lengthwise by 7 inches wide. Please refer to the photo to see placement. Fold about 1 inch up twice lengthwise to create the cap band. Positioned it on the lollipop, just over the eyes, flip it over, overlap the sides on the back and glue it together. Tack the cap onto the lollipop every inch or so with the hot glue to keep it from sliding off. Gather the top of the cap, use the embroidery floss to tie it up, leaving an inch or so of the fabric at the top, fluff it up, tie some ribbon and 2 jingle bells to it.
Scarf....
Cut a strip of 1 and 1/2 inches wide by 10 inches long of the fabric for the scarf, tie it around the stick just below the lollipop, position like a winter scarf and hot glue it.
Add snowflakes or embellishments of your choice to add your finishing touches.
And there you have it!!!
If you look a little further down in my blog, you will see some I made with a Halloween theme last year. They are pretty cool too!
Hope you have as much fun as I did making these! Make them for your friends and family. They will love them!